yonohomedesign.com Garden and Interior Design Ideas

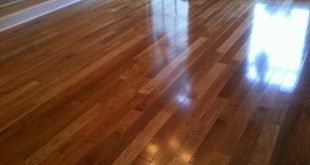
The process of installing a hardwood floor can sometimes be challenging especially newbies. It is therefore vital to note that whether to install hardwood floor for the first time or it is just one of the many times you have been doing it, the procedure of fixing these floors is very important. Here are five simple steps to achieve the desired guise of your hardwood floor.
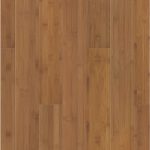
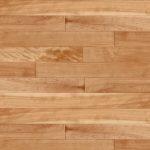
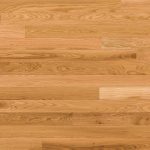
Select appropriate boards

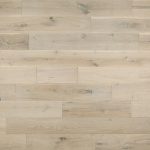
Begin by choosing the boards to be used in for the project. These should incorporate the types of wood suitable for durability and matches your home décor. Ensure that they have enough timber before the real process in which they are to be used to install hardwood floor is ensued.
Take measurements of installation space
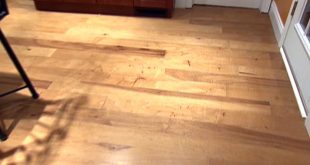
The second step entails taking the measurements of the room or house in which the installation is to be done. Ensure that both the width and the length is accurately measured. Taking accurate measurements will help prevent errors when cutting the wood into smaller pieces which are easy to work with. Check the squeaky floors to ensure that they are fixed before resuming other tasks. While doing that, the sub-floor should also be checked and rectified in case it’s not in the proper condition.
Create a vapor proof
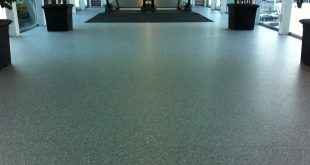
Roll out a vapor barrier paper whose function is to prevent vapor from reaching the floors. Ensure that the most appropriate paper is used so that the floor is fully proofed from vapor.
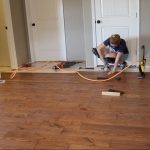
Make actual installation
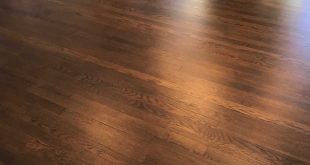
Once through with the above four steps the actual installation can commence. The installation activities entail properly arranging the pieces of wood on the floor so that a desirable pattern is attained. This is one of the most important steps because it will determine the guise of the floor and in case shoddy work is done the results won’t be much appealing. A few more steps are then needed after arranging the boards on the floor to wrap up the entire installation process. Ensure the wood is nailed on the ground so that the floor can remain stable. If nailing is not done, the pieces of wood will be dislocated after a while.
The final touch
After the actual installation is complete, you may carry out final touches to ensure that the floor is what you wanted it to be. The last step entails fixing the last board. It should be trimmed properly or the tongue trimmed to make a snug fit. If the above simple steps are followed in order, you surely have nothing to worry about. Sit back and relax as you admire your hardwood floor DIY.