yonohomedesign.com Garden and Interior Design Ideas

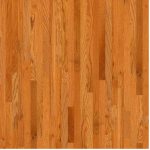
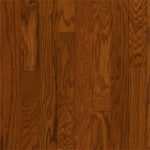
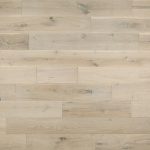
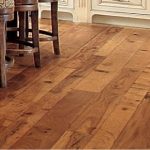
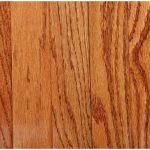
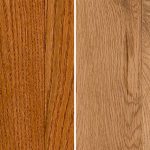
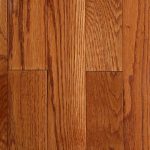
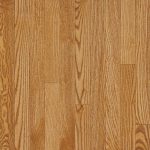
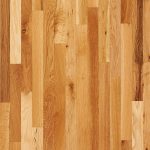
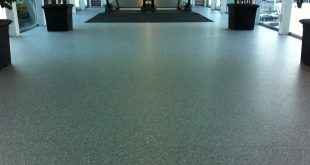
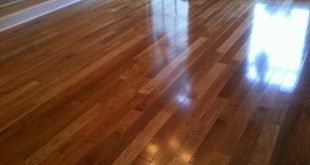
Hard wood flooring is a classical piece of flooring that gives your home a nature close look. It brings uniqueness to your home interior and reflects a precious look on your interiors.
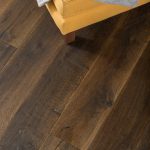
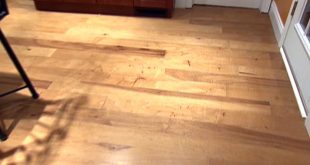
Hardwood flooring is something with an expensive value and much care is required to install it. Mostly a professional hand is required for installing hardwood flooring but if anybody who is not even professional and still wants to install a hardwood flooring himself and he is competent enough to do it then installing hardwood flooring is not a big deal.

By following the following directions everyone can be an expert at installing hardwood flooring. But keep in mind neatness and competence are the keys to get a refined hardwood flooring fixture.
TIPS TO FOLLOW:
Before planning for installing a hardwood flooring in your home, one must follow the following tips,
-Installation must be made above grade
-The wood to be install as flooring must be put in the room 5 days before installation at a temperature of 65 to 75 degree.
-Get equipped with all the necessary tools
-A jack of all trade is required for installing hardwood flooring
-A suitable subfloor must be present on which the wooden floor is to be installed
-Use the nail guns with enough care
-Knee pads must be used to avoiding any injury to your knees
TOOLS REQUIRED FOR INSTALLING HARDWOOD FLOOR:
- Nail set
- Hammer
- Drill machine
- Inches tape
- Jamb saw
- Broom
- Chalk line
STEPS TO FOLLOW:
- Make perfect markings on the floor by covering the floor with felt paper. Mark the location of the floor joists.
- Drill the first and the last row of flooring. Drill 1/16 inches diameter holes for the nails.
- Fasten the first board with the layout line while placing a ¾ inch spacer against the adjoining wall. The flooring nails must be 5d or 6d through the pilot hole.
- Now start placing the continuing boards one after another. While setting the end and the groove into each other and make a tight seam by pushing them together. Installing hardwood flooring requires moving down the row till you reach the other end. Now cut the last end to fix leaving a ¾ inches gap.
- The next step is racking the floor by matching the color shade and size of the wooden planks, keep on installing the next rows one after another.
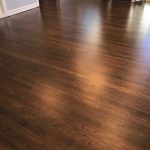
- Board the floor with nailer and fix if any bowed boards are present. Cut and nail the last row to fix and after that adjust the trimming boarder plank on the adjacent wall and end with a trimmed and refined look wooden floor.