yonohomedesign.com Garden and Interior Design Ideas

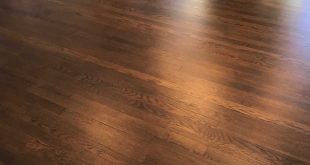
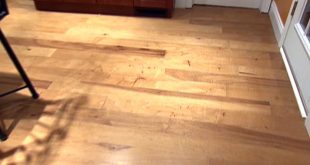
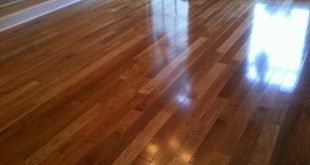
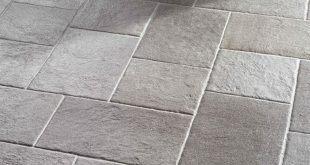
Wood flooring certainly gives homes the splendid beauty that every home owner desires. Laminate flooring installation makes the dream of wood floor admirers come true at a much cheaper price. The process much easier that no professionals are required. Thinking of making an installation? The following is a simple DIY guide to magnificently give your floors the glamor they deserve at less.
The installation is simple and requires the following tools and materials: Laminate flooring, hand saw, hammer, pull bar, foam underlayment, level, tape measure and spacers. A coping saw can also be used in absence of a hand saw. Its time begin your laminate flooring installation DIY.

- Acclimatization
Acclimatizing the flooring to the prevailing conditions of the space should be done at least a week earlier before the installation. This is necessary due to the contraction and expansion of the floors as the temperatures vary. The flooring boards should be laid flat in the room in which they are to be installed. All plastic packages should be removed to allow free circulation of air which plays an important role in acclimatization.
- Subfloor preparation
Before starting any process, the base moldings should be removed and stored. Beginning from one end, lift up the existing flooring carefully without leaving behind staples and nails. Then clean the debris and check out for parts of the subfloor surface that might need some repair. If making installations over concrete, just ensure that it is completely dry and cured.
- Place the foam underlayment
Foam underlayment may sometimes come with the laminate flooring pre-attached. However, if it is bought separately, then their installation is done strip by strip. Follow the guide on manufacturer’s manual on sealing the seams and making butt edges.
- Carry out door jambs trimming
Once through with placement of the underlayment, the jambs of the door should be trimmed appropriately. This can be achieved by laying down a plank with its edge running along the jamb side. After marking the board, use a hand saw or coping saw to cut the board in parallel with the floor while making cut outs to enable a neat fit of the board under the jamb for professional look.
- Flooring installation
Make installation of the planks in parallel with longest wall. Position the plank so that the groove lies in face with the wall at the corner of the room. Place spacers of half an inch between the wall and the board to allow for expansion or shrinking. They should be placed at intervals of 12 inches. Once done with that, continue with the rest of the planks, each at a time while making matches of the tongues and grooves. Make gentle taps for a cozy fit using a tapping block as hammer may damage the boards. Stagger ends of the neighboring boards for a longer lasting and attractive installation.
- Final touch
The last plank can be tricky to install. You may trim it or the tongue. Thresholds can then be put wherever there is a door or where a laminate is adjacent to a flooring material. Lastly, remove the spacers and re-install base moldings. Now admire your DIY.