yonohomedesign.com Garden and Interior Design Ideas

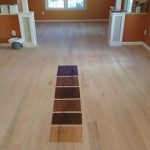
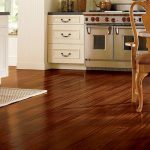
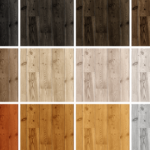
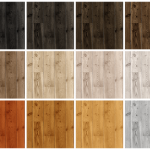
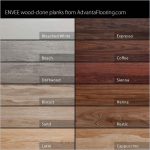
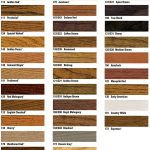
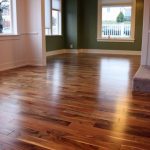
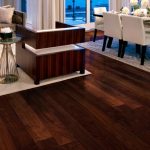
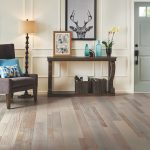
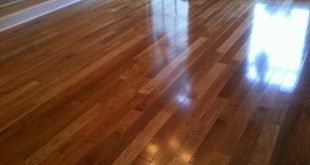
A great way to alter the appearance of your hardwood floor. One of the biggest reasons for choosing hardwood floors is that these can be used to get almost any kind of look or pattern. Right from light and dark to satin or glossy finishes, every kind and type is there in terms of hardwood flooring. If that is not enough for you, then even after installation, you can alter the appearance of these floors by hardwood floor stain.
What kinds of hardwood floors are most suitable for staining?
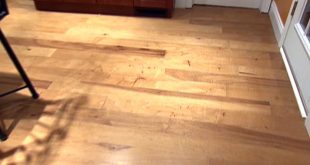
While hardwood staining can be done on most kinds of hardwood floors, the unfinished hardwood is the best candidate for staining. Applying a hardwood floor stain on unfinished hardwood floors before the wood is sealed can greatly alter the appearance of the floor, and can get you a floor of any color and texture- including those that you may not get in the usual pre-finished flooring products.
Simple steps to hardwood floor stain on your own
Despite of all that you can accomplish with hardwood floor stain, it is quite a simple task. In fact- it is something that you can do on your own by following the following simple steps:
Step 1: Sand the floor
The first step is to sand the floor thoroughly and then vacuum, so that all sawdust is removed.
Step 2: Condition the wood
In this step, you will run a wet cloth or mop on the freshly sanded floor for raising the grain. This method is known as water popping, and will help the wood in accepting the stain. Wait for around 30 minutes to let it dry and before starting the stain.
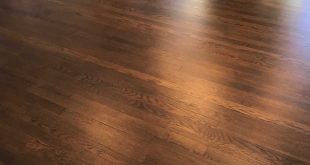
Step 3: Stain Application
Dip the sponge or the rag in the stain, and then apply it on the floor. During stain application go in the direction of the grain and not against it. Begin work from one side of the room, moving towards another, wronging out the sponge or the rag to ensure even covering. This will also avoid the stain from pooling in on the floor.
Step 4: Remove any excess stain
After 5 to 10 minutes, wipe vigorously for removing any excess stain that may be there. How much time you should allow for the soaking will depend on the darkness in the final product that you desire.
Step 5: Let it dry
Allow the stain to dry fully as per the instructions of the manufacturer. For a durable finishing, brush a coat of polyurethane.