yonohomedesign.com Garden and Interior Design Ideas
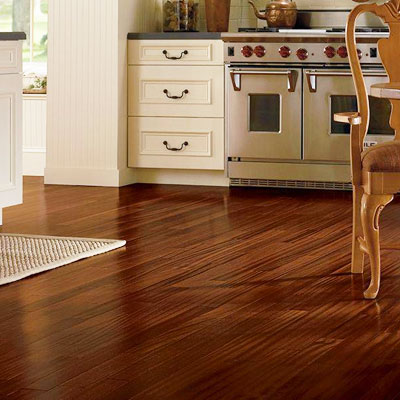
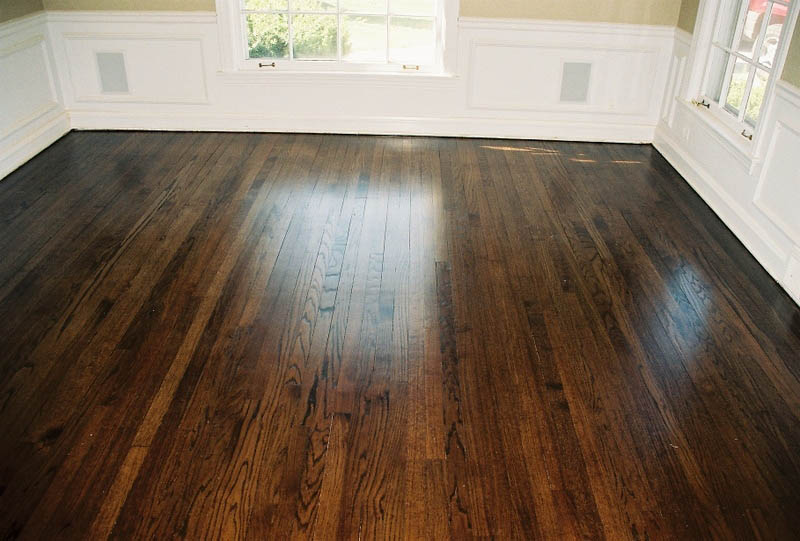
Sanding of the hardwood floors takes place during the refinishing process especially if the hardwood floor is damaged, stained or has wax on it. First of all, the furniture of the room in which the sanding is taking placed should be removed, even the doors. Then one needs to remove any nail heads or carpet staples from the hardwood floors.
Light fixtures and doorways should also be covered with plastic and should be taped around the edges. Sanding hardwood floors take three complete sessions. All of these sessions are mentioned in the following paragraphs.
SANDING HARDWOOD FLOORS SESSION 1
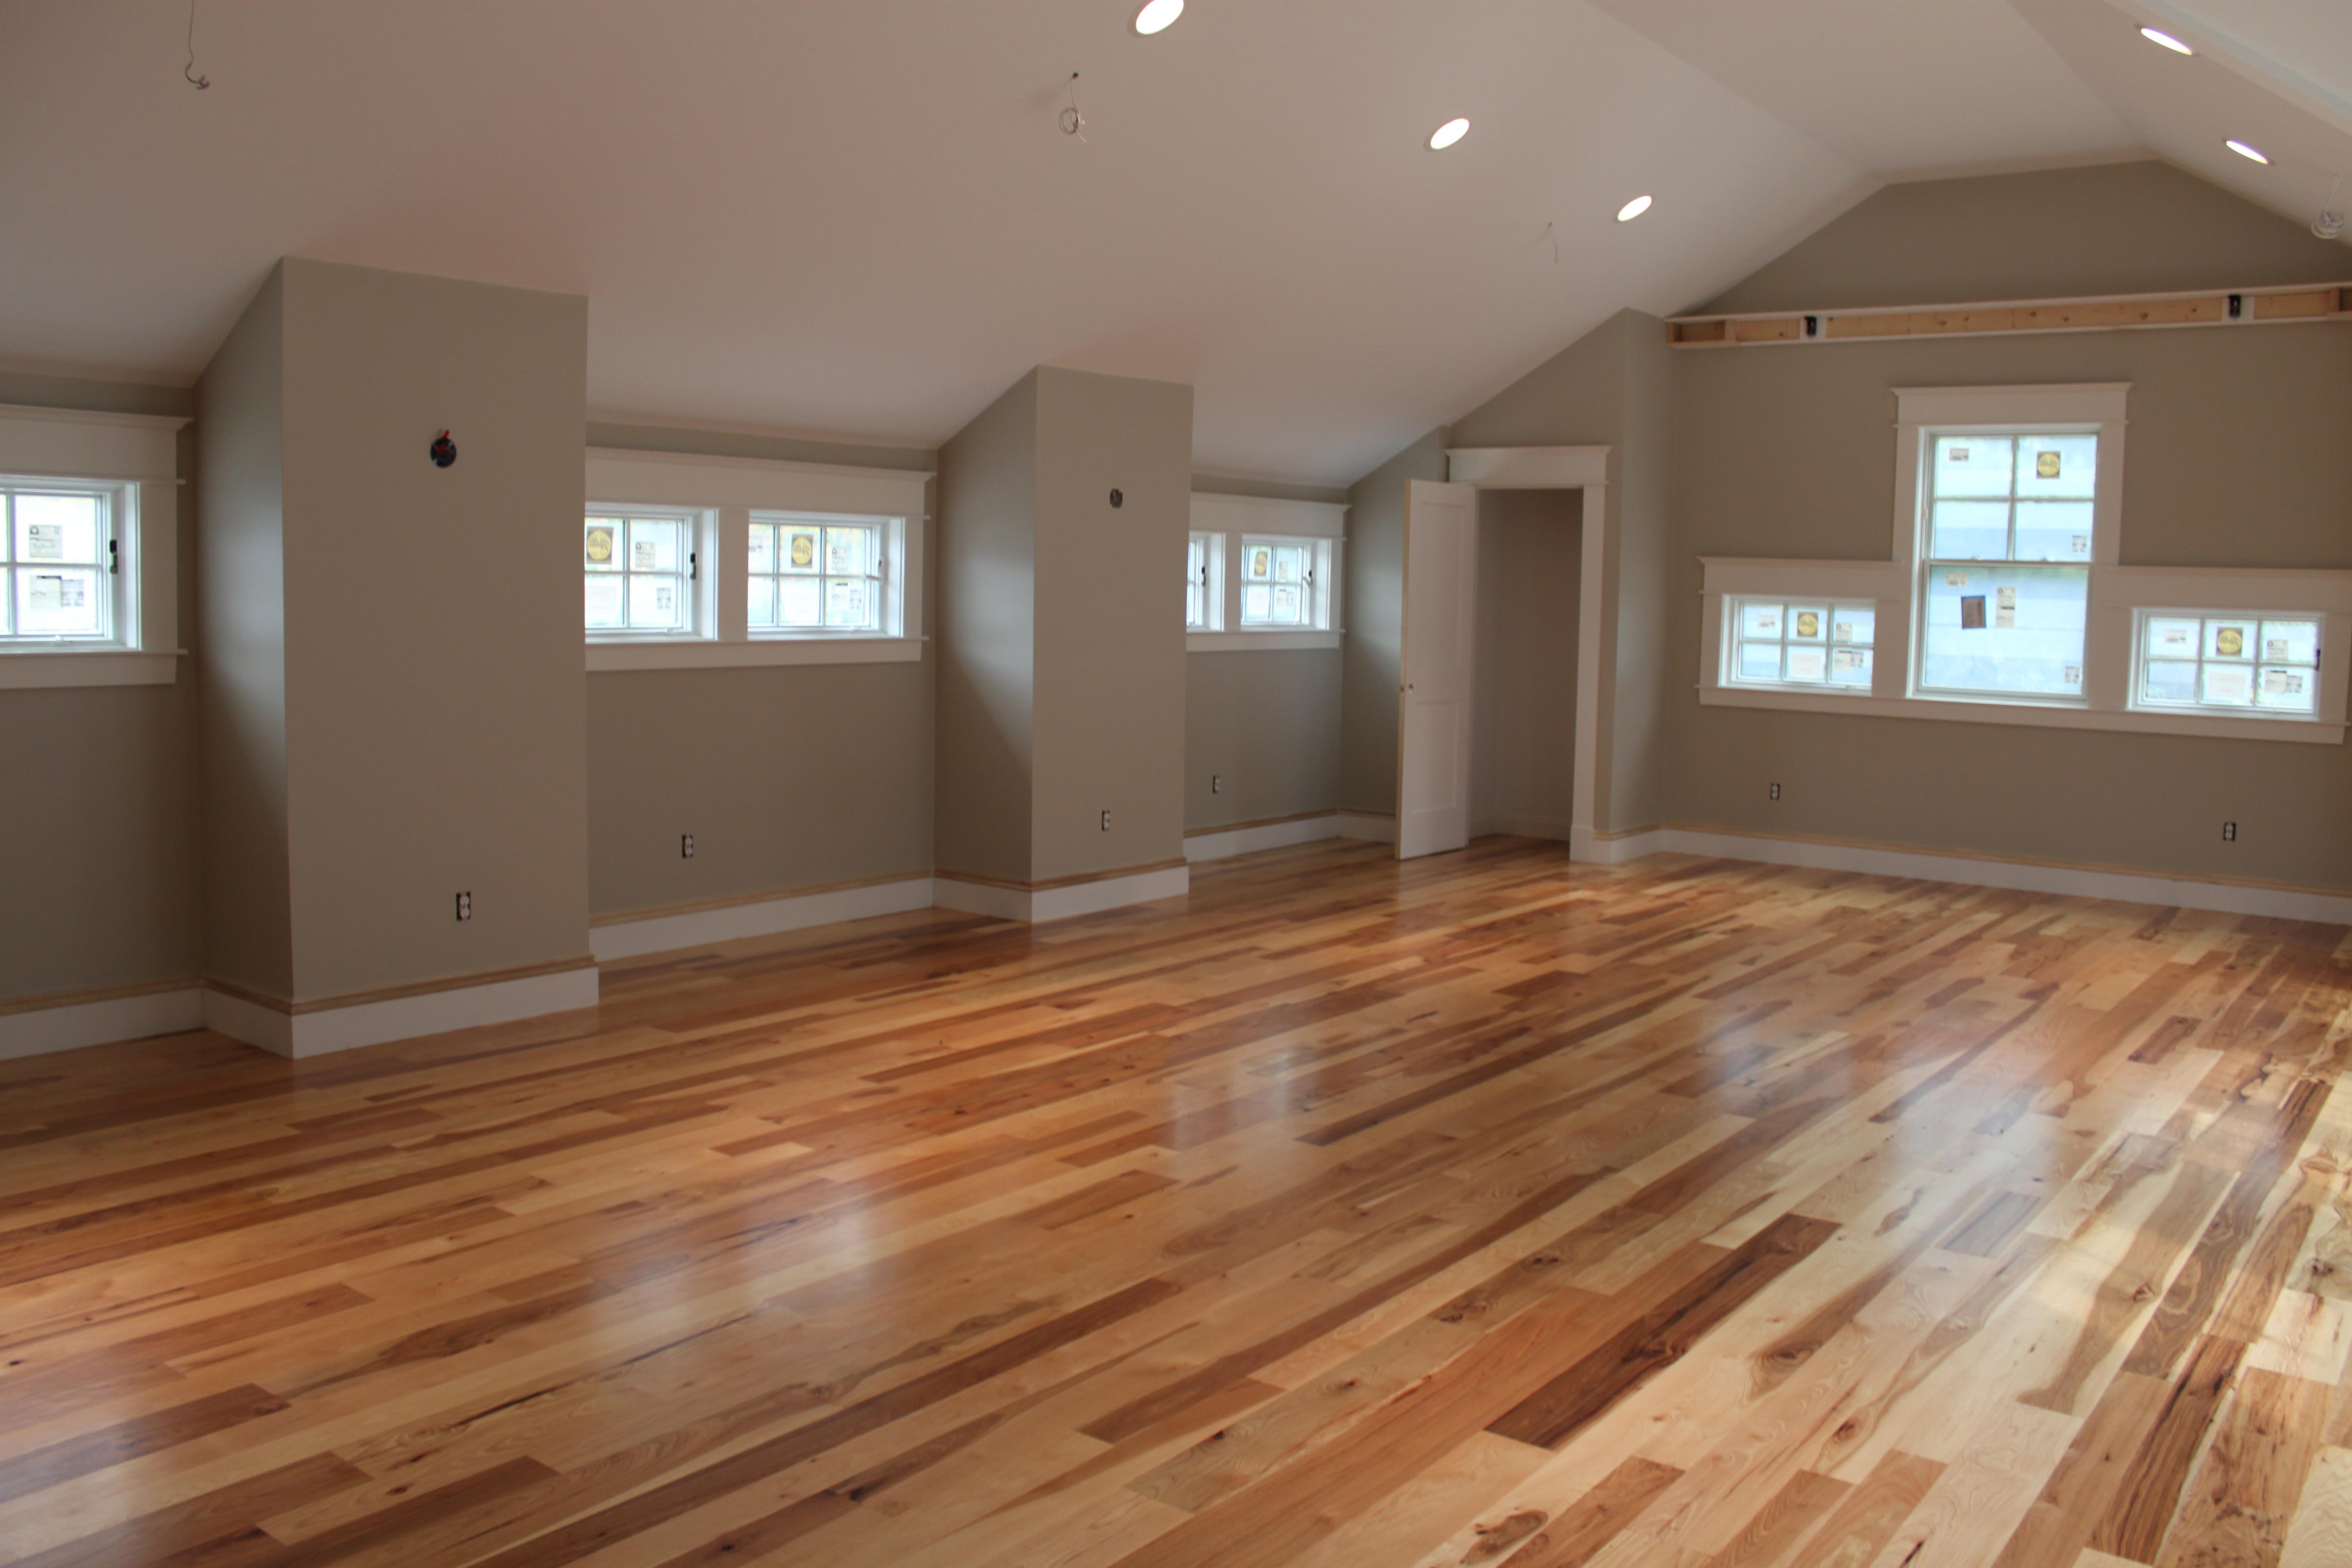
For this session one needs to use a random orbital sander which is easier to handle and also available for rent. One should always start with the corner of the door, load the sander with the sandpaper and then move along the grain, one row at a time. After done sanding the center of the room, one needs to sand the edges using a power hand sander by loading extra sand paper. Once the sanding is completed, vacuum the whole floor with a brush and fill in any holes found.
SANDING HARDWOOD FLOORS SESSION 2
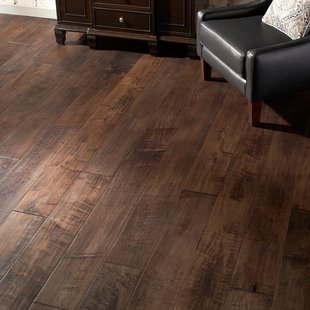
For this session an individual needs to keep track of the sanding process by making light pencil marks along the edges of the room. Then use a normal random orbital sander and load it with an appropriate amount of sandpaper. Follow the exactly same process and the pattern as done in the first session. It is extremely important to keep even the small details and edges in line and in the corners. The last stage is to vacuum the floor with a brush and to level off any bumps and uneven floors so that the sanding hardwood floors are done effectively.
SANDING HARDWOOD FLOORS SESSION 3
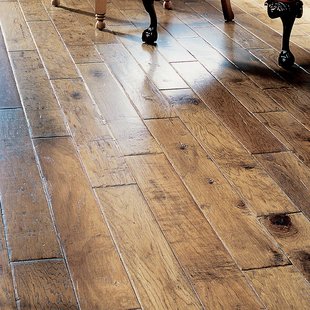
First of all an individual requires to load the orbital sander with a large amount of sandpaper so that the last stage is done affectively. Also the last session requires more sandpaper than the previous sessions. However the procedure and the pattern is exactly same.
The details and edges are marked with a pencil so that the sanding can take place properly and none of the area is left behind. The last stage again in this third session is to vacuum the floor with a brush and to do the leftover finishing. Also to try and wipe away the dust form the windows. This marks the end of the whole sanding process.