yonohomedesign.com Garden and Interior Design Ideas
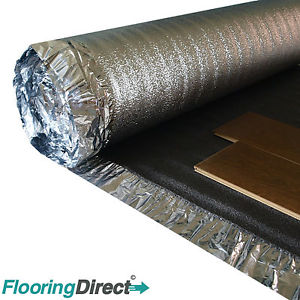
In this article, I will show you how you can install underlay for laminate flooring so as to obtain the best results for your room.
STEPS INVOLVED
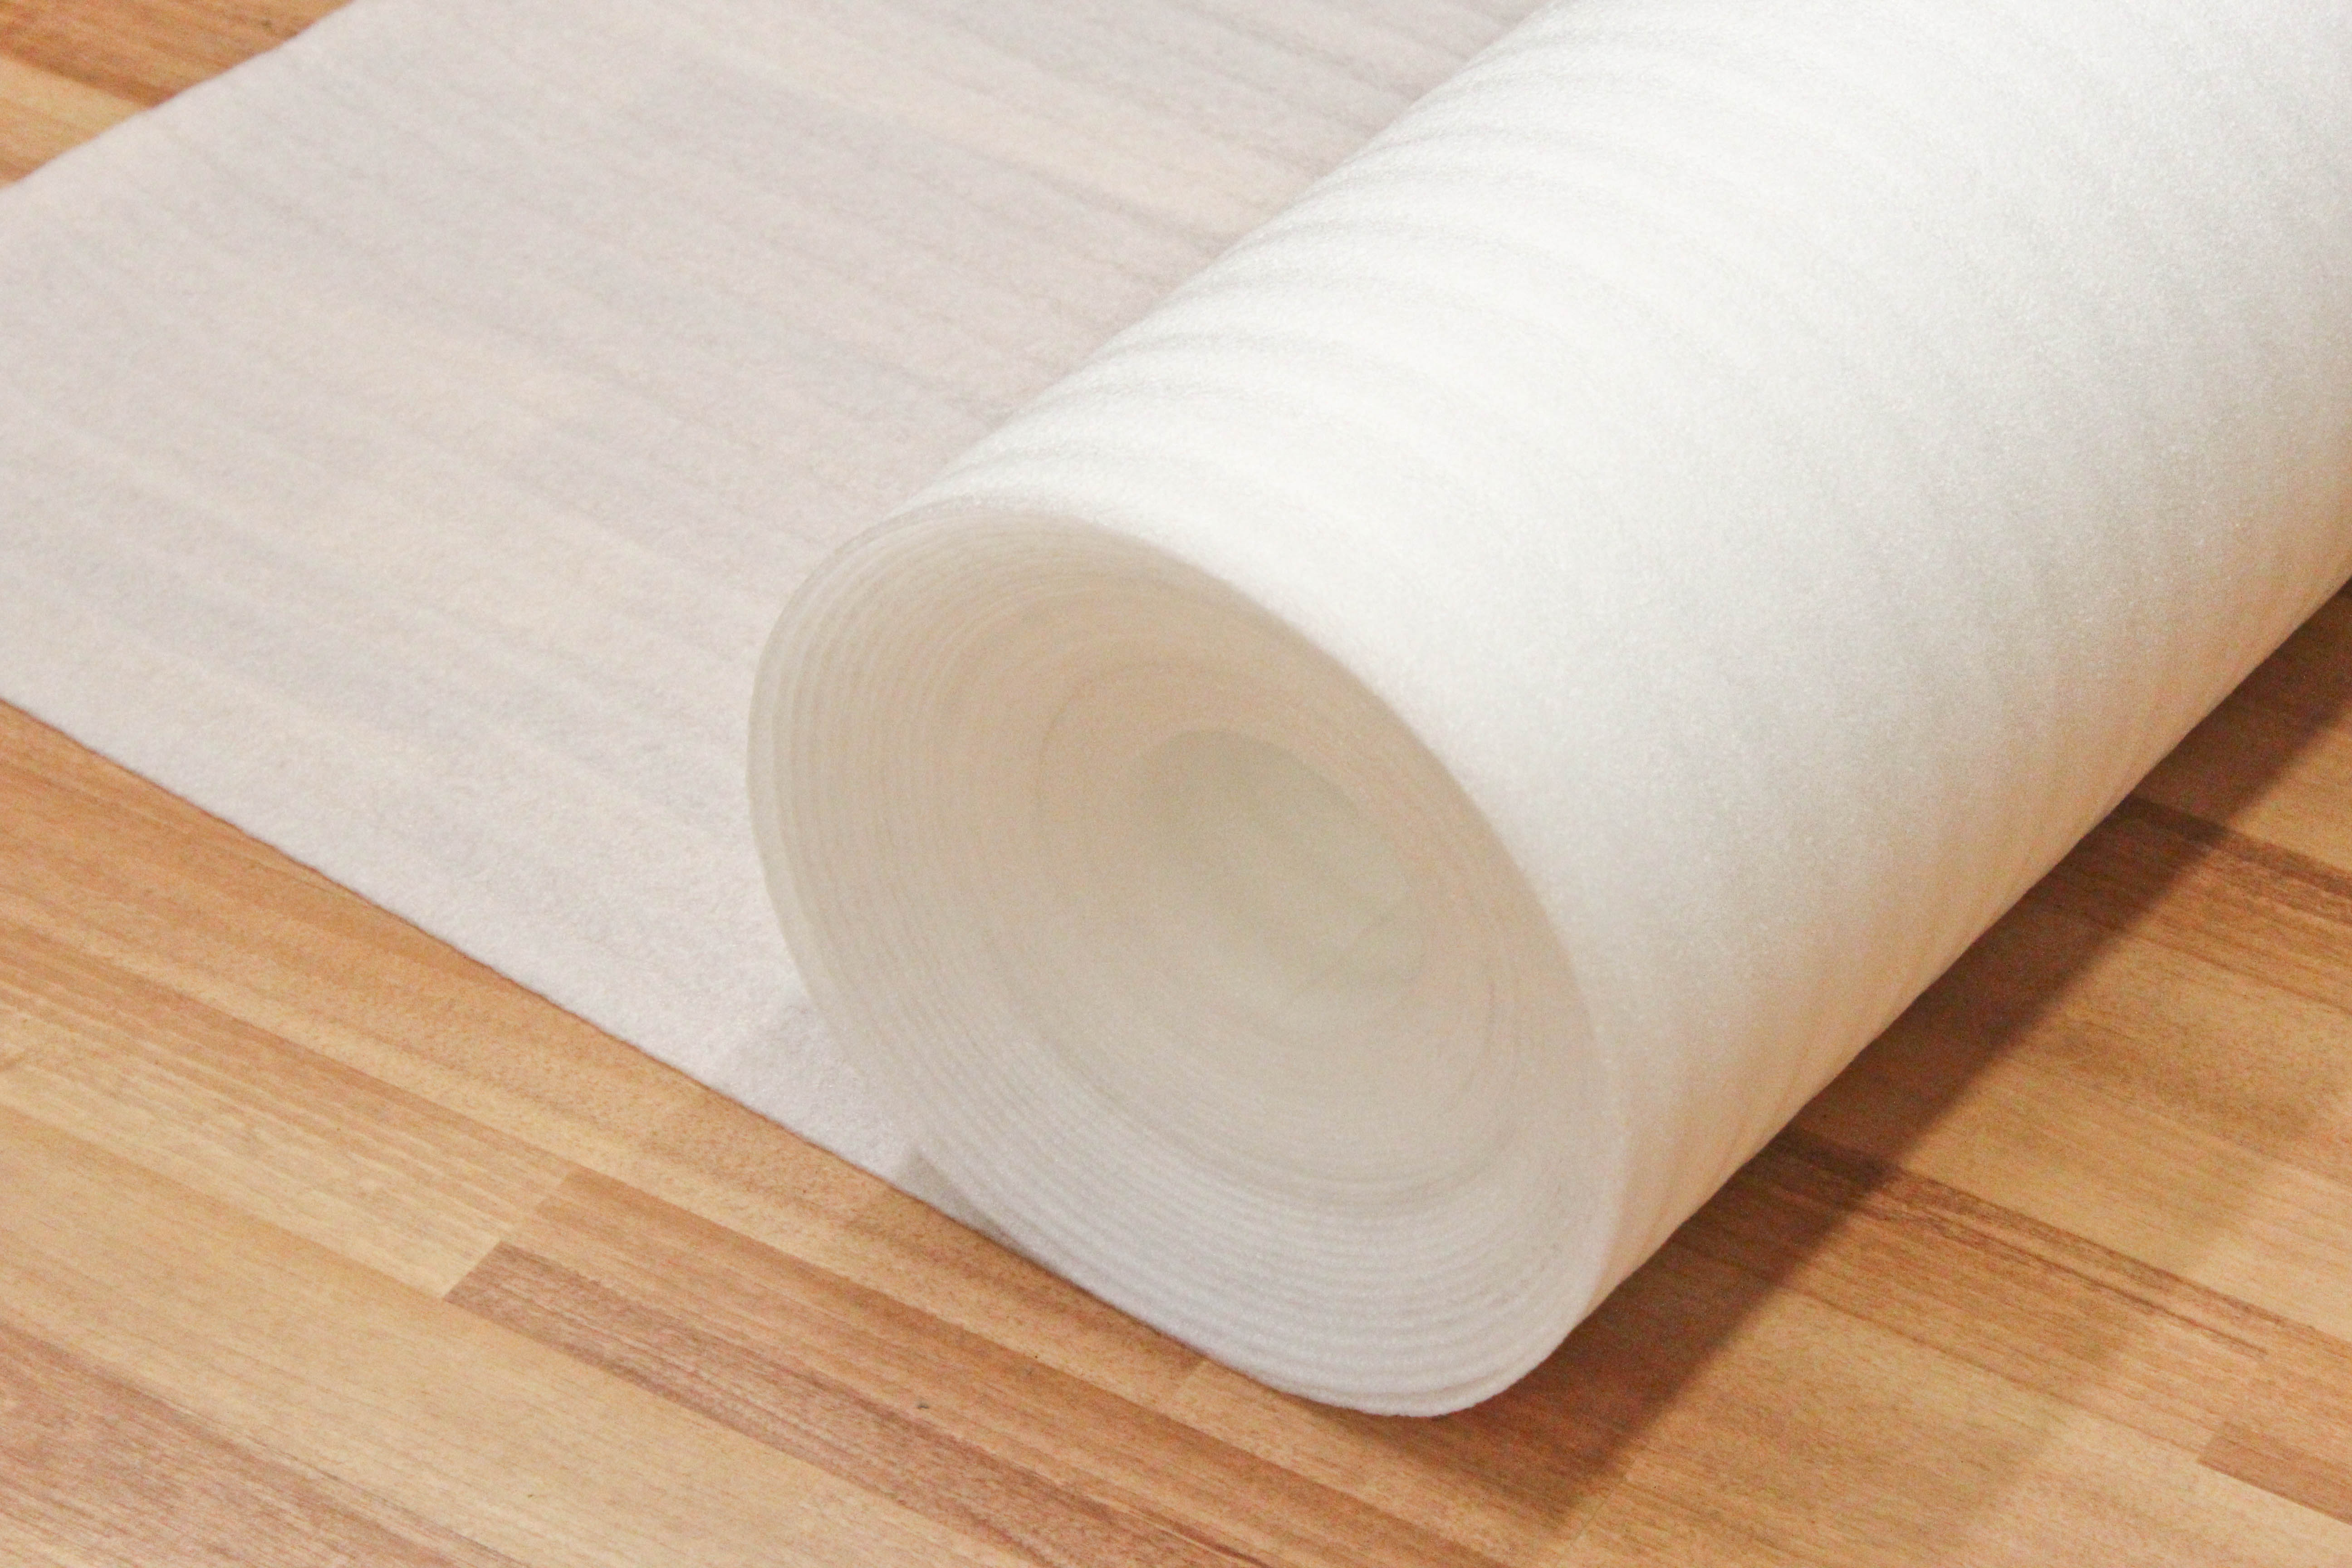
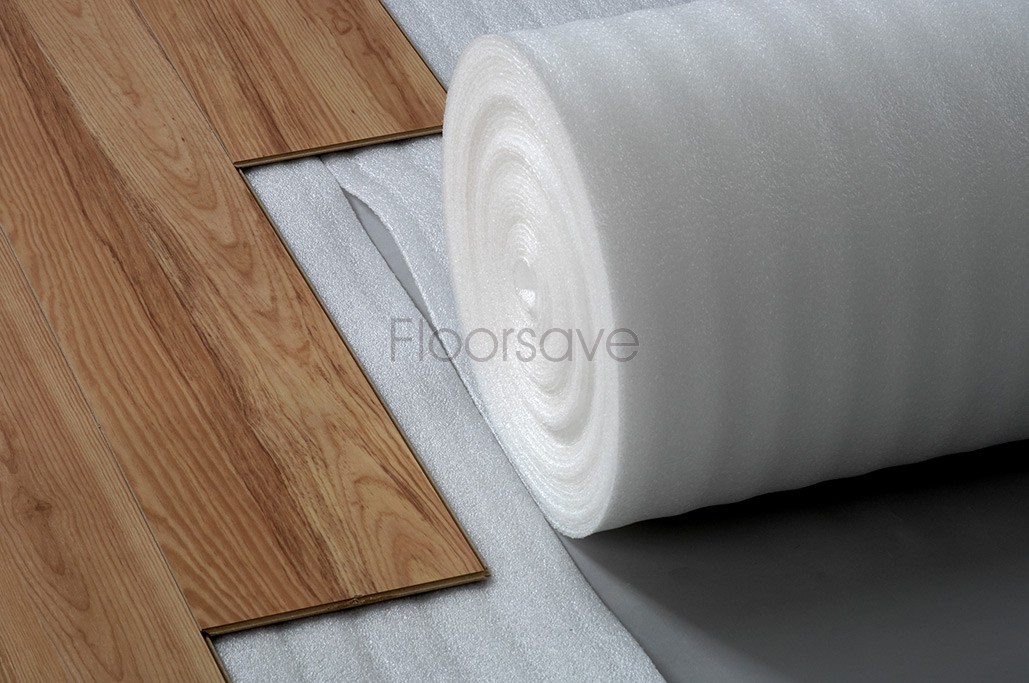
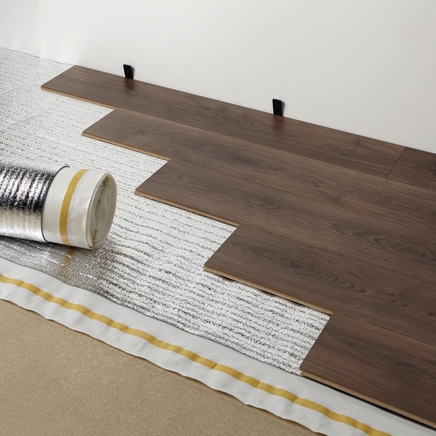
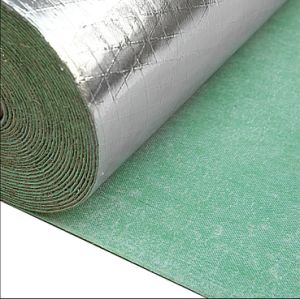
Unroll the Underlayment
There is a plastic strip on one end of the underlayment that will go up the wall that the baseboard will cover. An adhesive tape is on the other end. The plastic end lies on top of the adhesive tape end each time you roll the roll. An important tip to remember here is that the underlayment should run in the direction in which the flooring runs
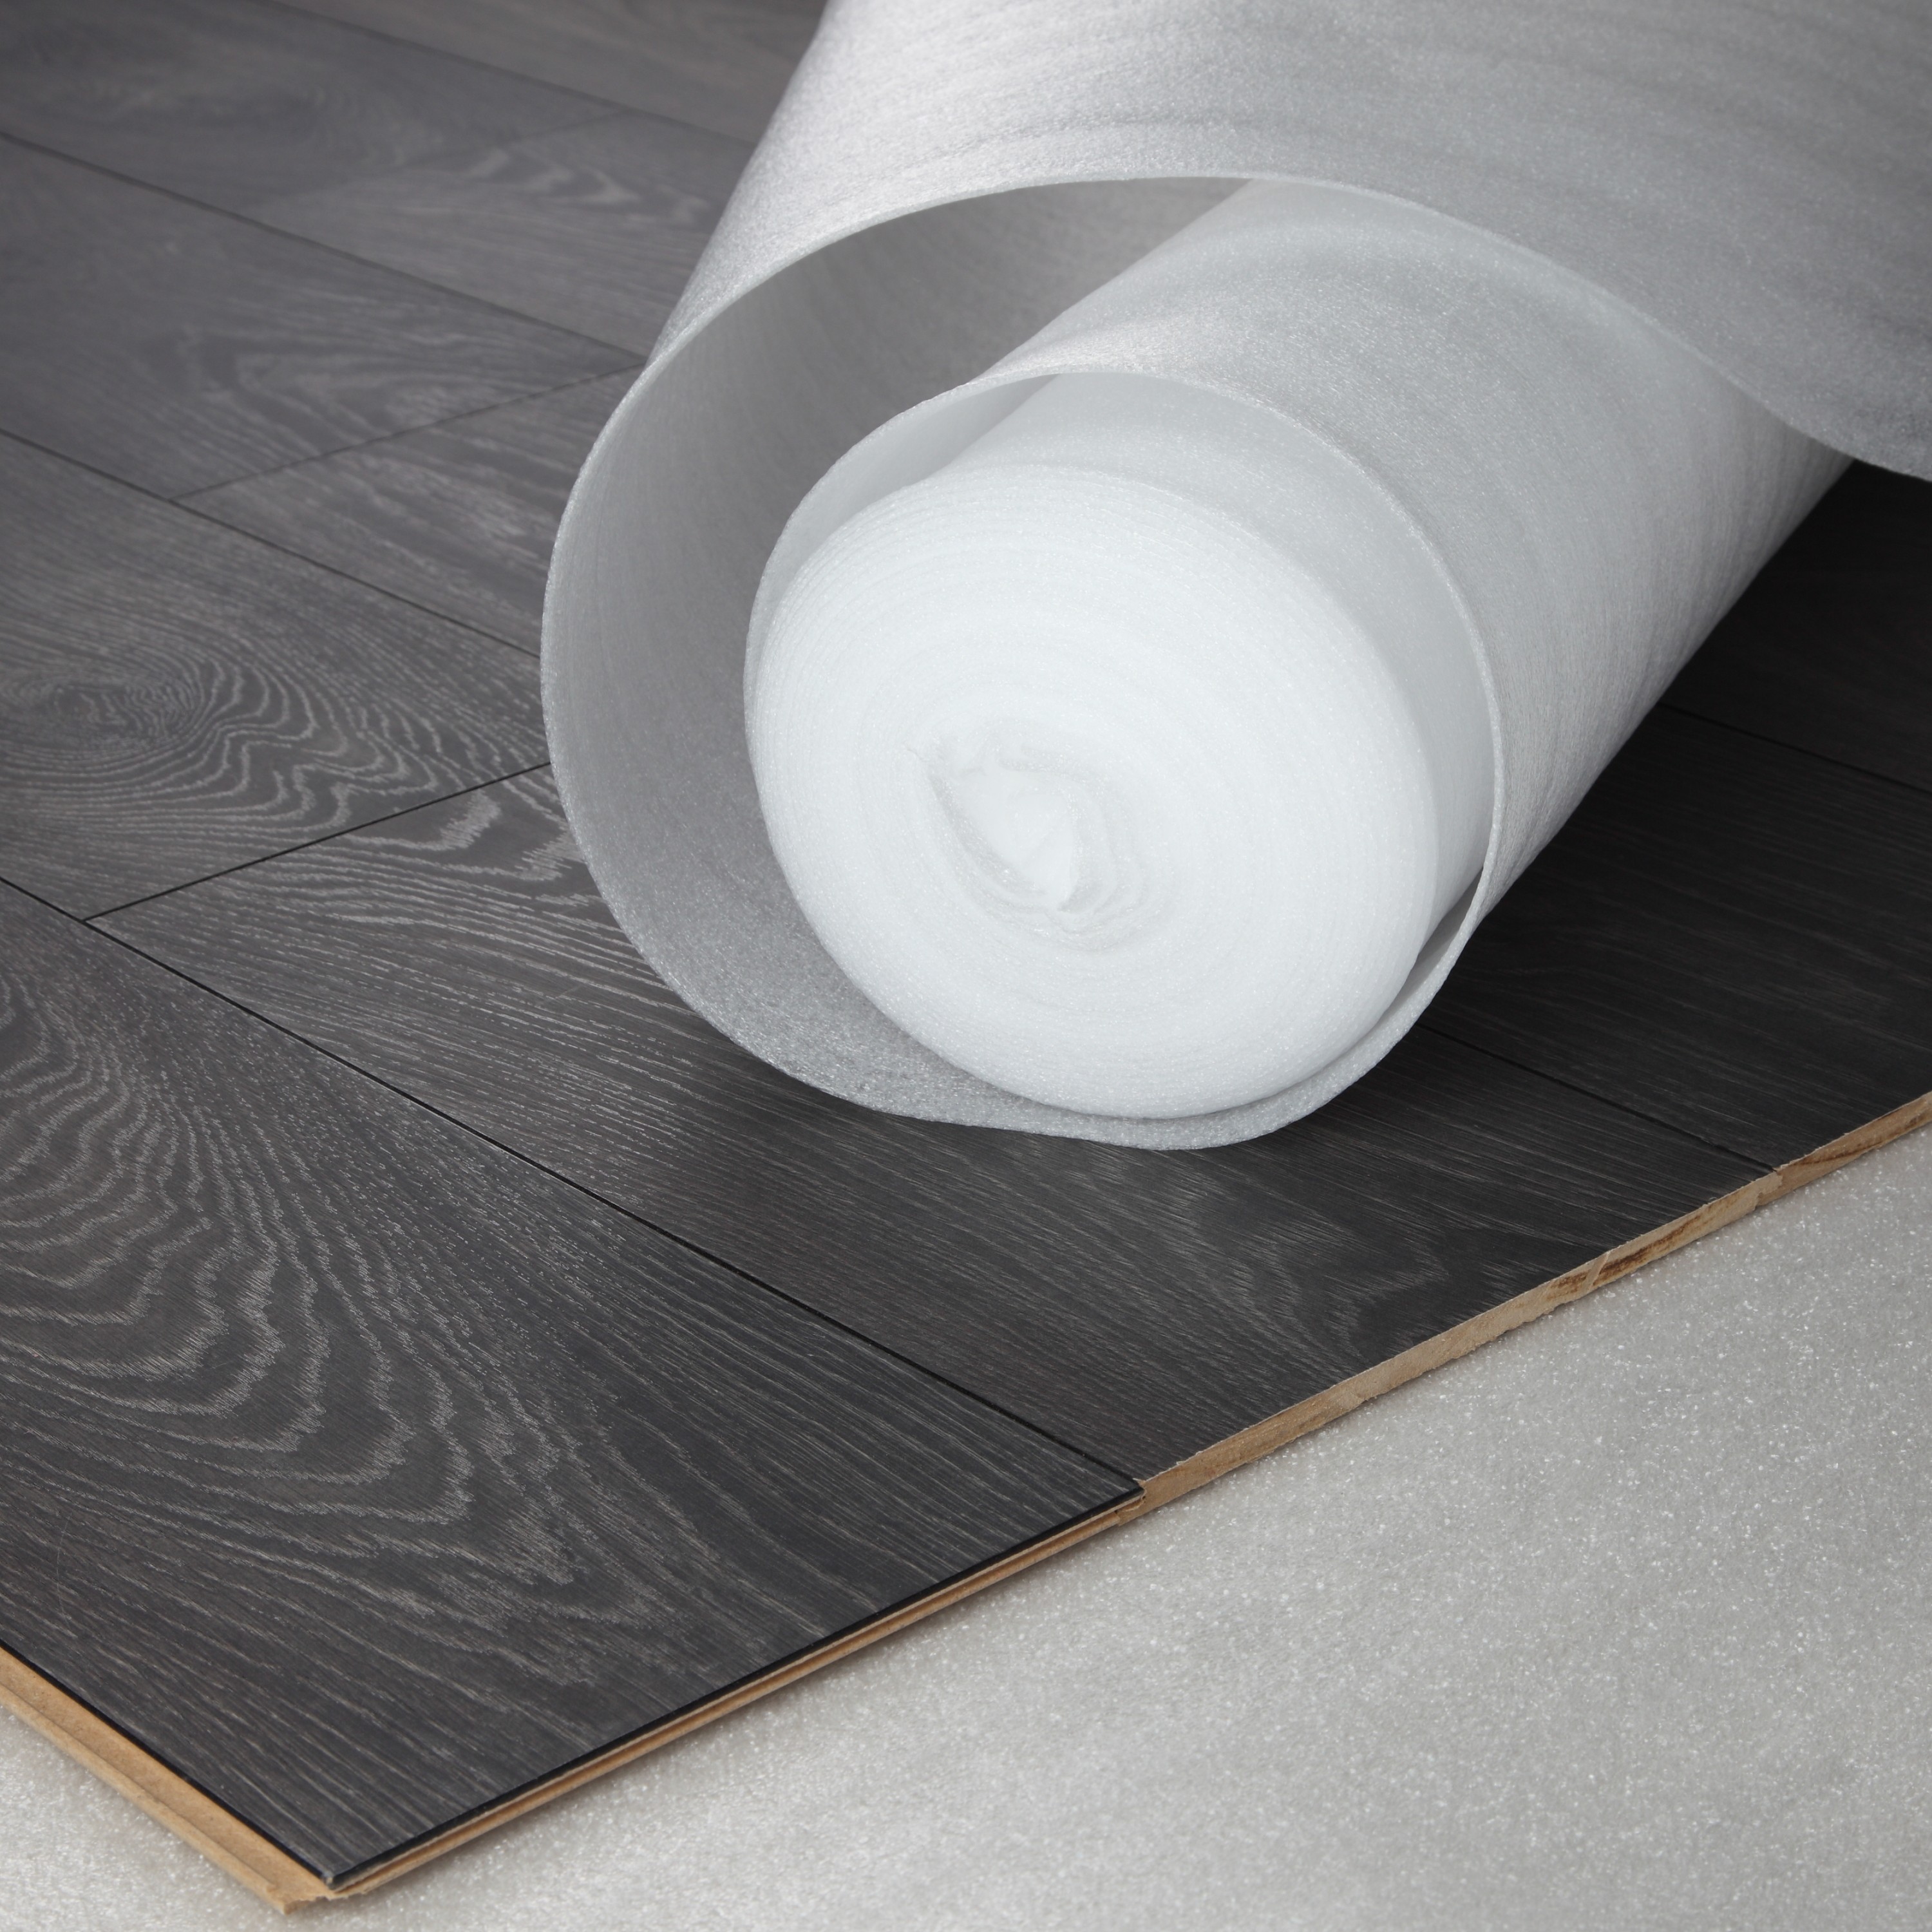
Run the Underlayment
The first sheet of the underlayment should be run next to the wall that is the longest in the room. The plastic strip should be run four inches up the wall.
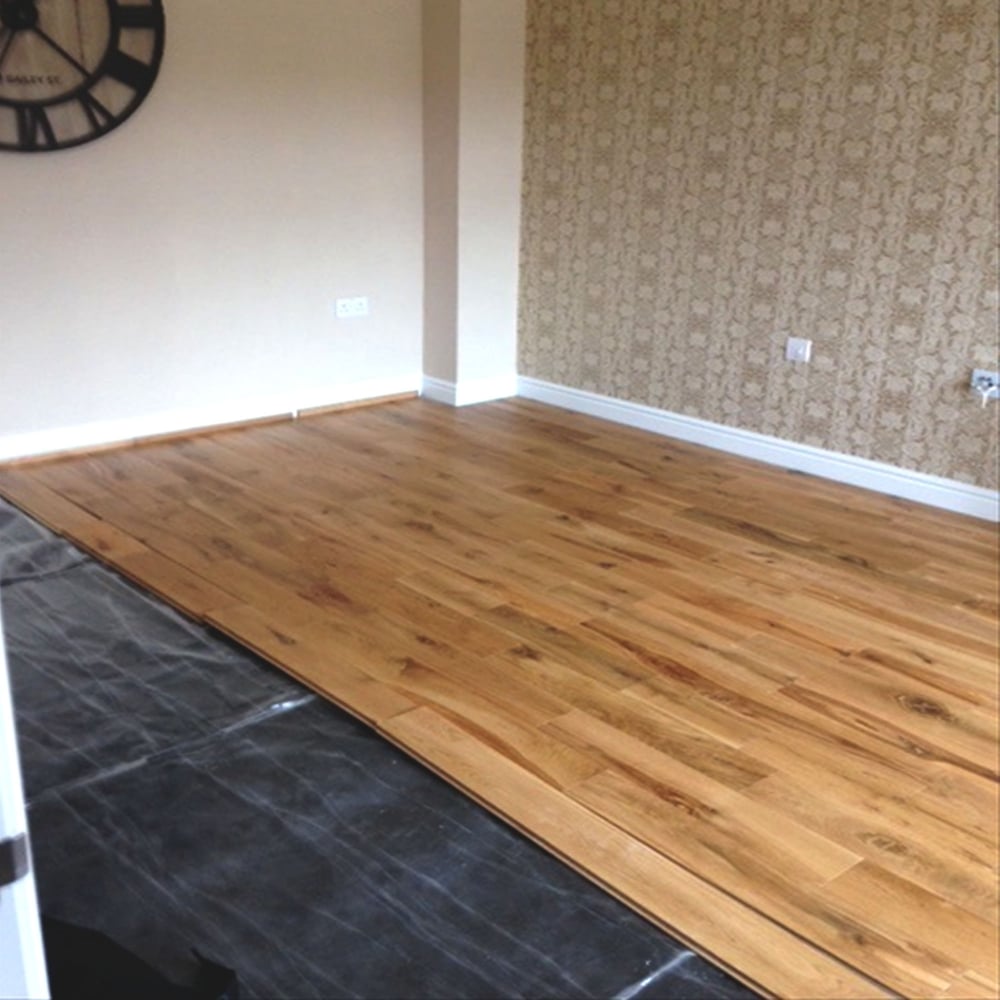
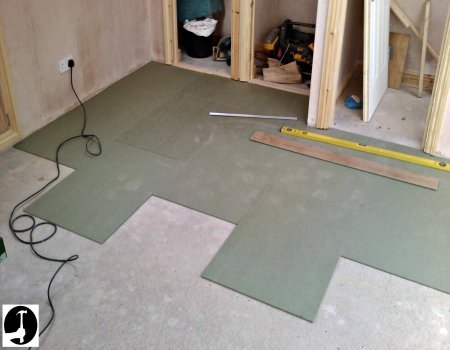
Cover the Floor
The second sheet is supposed to be right up against the initial sheet. The plastic edge should overlap that of the first sheet. Do so until the whole room floor is covered. Only a small gap should be left between the underlayment and the walls.
Get Rid of Excess Underlayment
I this step of installing underlay for laminate flooring, any underlayment that is around corners and vents is removed using a razor knife. This is important in keeping everything cleaner and simple.
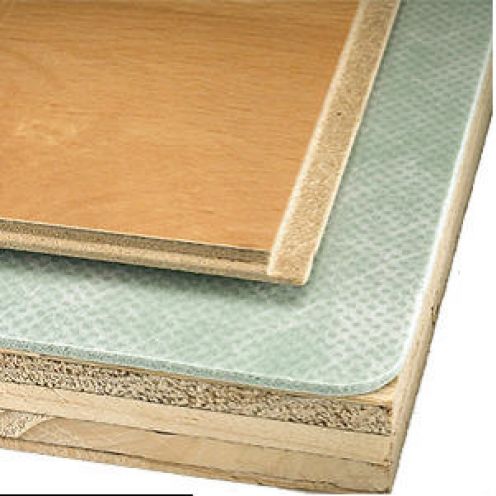
Cut the Boards
The boards usually have a tongue and a groove side. The smaller part that sticks out from the board is the tongue. While installing the boards in the corner, Cut-off the short and long sides.
Put in place the Spacers
Put a transition strip around the door opening when you are installing the boards. Put in the spacers and then measure the difference between the length of the board in front of the door and the board that is against the wall. That will assist you to know how much you should cut the board at the door front.
Keep the Face Protected
It is not a complicated thing to cut the board but it is vital for you to ensure the face of the board is okay. That depends on the manner in which the blades are going and also the saw that you are using. For example, if you have a jigsaw, the blades will go up and thus the face needs to go down. The reverse is also true. Just make sure the face is in the opposite direction of the blades.
As you have seen, installing the underlay for laminate flooring is not a tough thing. Some other tips to remember include: using a shorter piece for the second row, staggering the joints as well as putting and sliding the planks in place.